
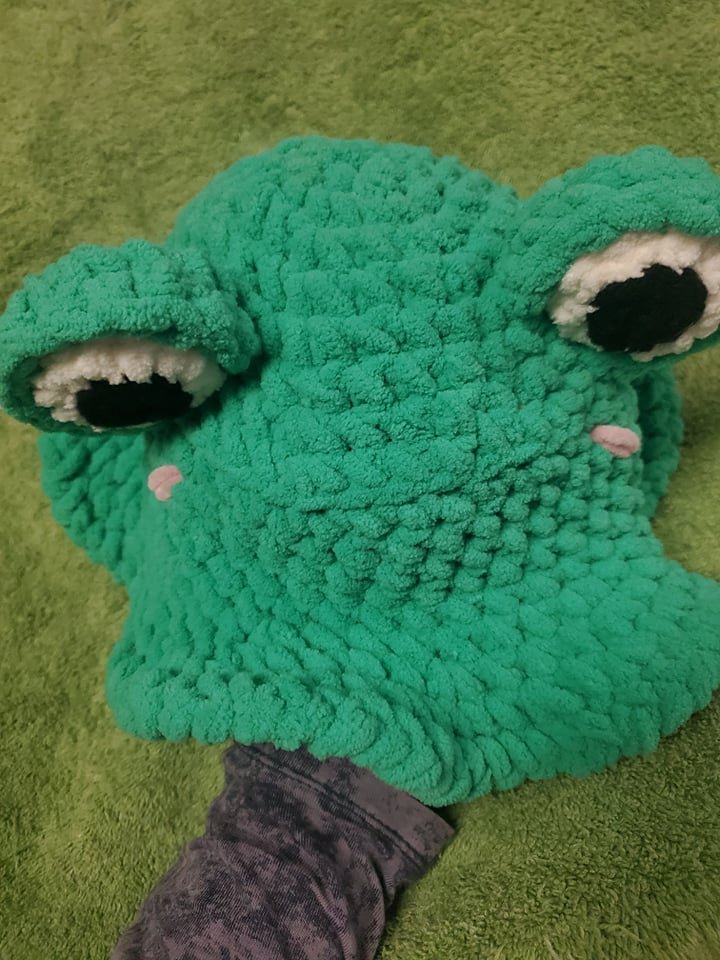
Froggy Bucket Hat

Thank you so much in supporting my art! You can sell items made from this design in small batches but you must credit Ashly at The Weaving Witch as the designer. You may not mass produce this design. You may not sell or share this pattern. You may not alter or modify this design and claim it to be your own. Also, if you share photos on Social Media of your creations please credit and tag me. Use hashtag #TheWeavingWitch
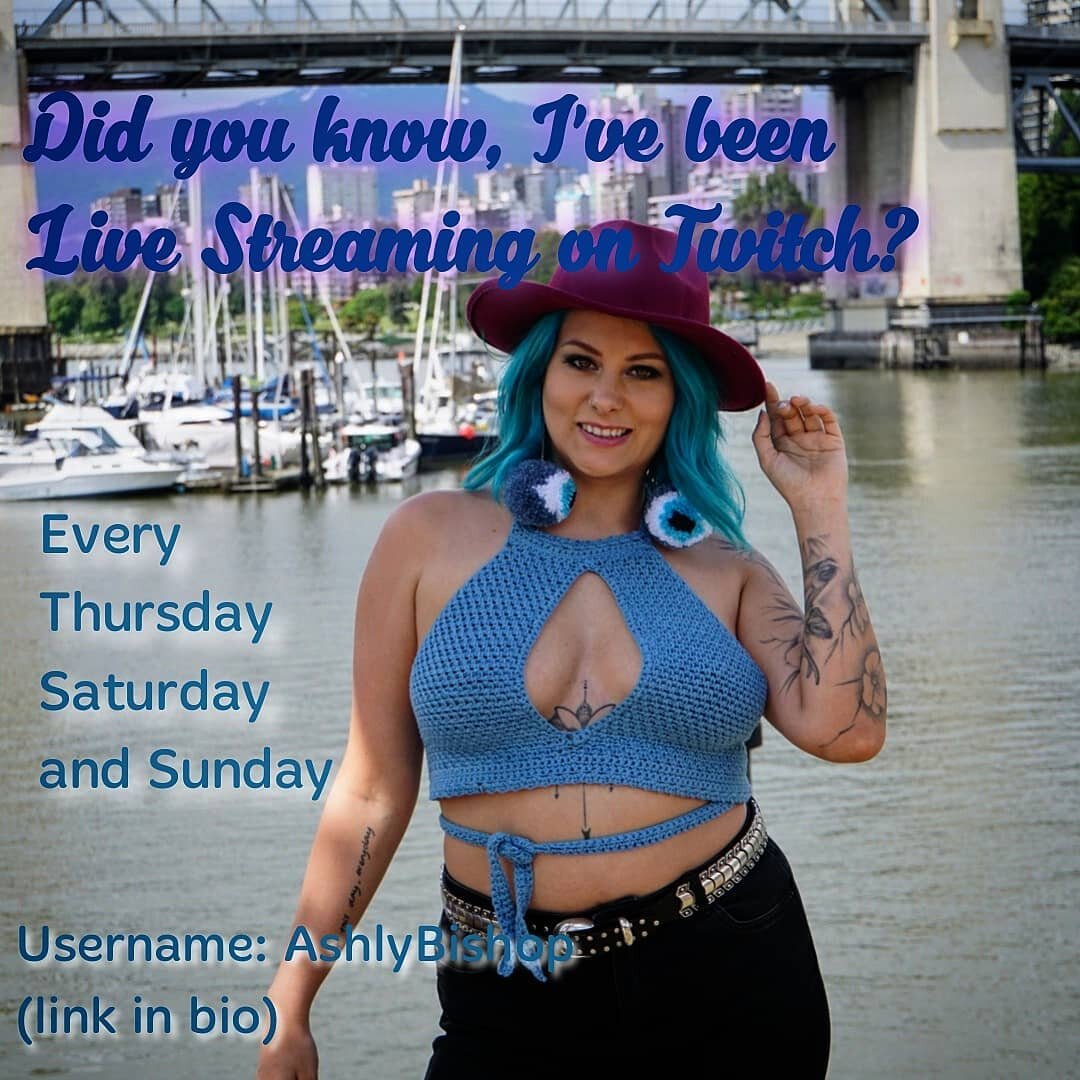
Instagram: http://www.instagram.com/the.weaving.witch
Facebook: https://www.facebook.com/theweavingwitchco/
Ravelry: https://www.ravelry.com/people/Theweavingwitch
Etsy: https://www.etsy.com/shop/WeavingWitchByAshly
Website: http://www.theweavingwitch.com
*this post contains affiliate links, if you click through and make a purchase I receive a small commission at no extra cost to you.

Supplies
Yarn: 150 yards of blanket or super chunky number 6 yarn of any colour for the frog. You’ll need some scrap white yarn of similar weight and scrap black in a worsted number 4 weight yarn for the pupil. You may want add pink accents for the cheek as well.
You can get the recommended yarn using my affiliate link here:
https://www.lovecrafts.com/en-us/p/bernat-blanket?utm_medium=affiliate&a_aid=8e8bc84a
Or here:
https://www.premieryarns.com/collections/premier-basix-line/products/pbasixchnl?aff=63
10.00 mm hook or whichever hook you need to meet gauge.
5.00 mm hook for the pupil of the eyes.
Tapestry Needle for sewing in ends.
Sizing
This design should fit an adult sized head.
Key (Us Terms)
Ch- Chain
St (s) – stitch or stitches
Sc – Single Crochet
Crab Stitch – Reverse Single Crochet
Inc – Increase, 2 Sc in same st
Dec – Decrease
Blo – Back Loop Only
Other Notes
· You’ll be working in the round and not turning after each row
· The gauge will be given after row 4 of the pattern
· The stitch count will be in brackets ( ) at the end of each row
The Pattern
The Head
Using your main colour and 10.00 mm hook
Row 1: In a Magic Circle make 6 Sc
Row 2: 6 Inc (12)
Row 3: [1 Sc, 1 Inc] x 6 (18)
Row 4: [2 Sc, 1 Inc] x 6 (24)
Your circle should be approx. 4 inches wide
Row 5: [3 Sc, 1 Inc] x 6 (30)
Row 6: 30 Sc
Row 7: [4 Sc, 1 Inc] x 6 (36)
Row 8: [5 Sc, 1 Inc] x 6 (42)
Row 9: Blo 42 Sc
Row 10-13: 42 Sc
Row 14: [6Sc, 1 Inc] x 6 (48)
Row 15: [3Sc, 1 Inc] x 12 (60)
Row 16: [1 Sc, 1 Inc] x 30 (90)
Now, you’re going to turn your work so that you are working reverse
Row 17: 90 Crab Stitch
Fasten and sew in all your ends
EyeLids – Make Two
Using your main colour and 10.00mm hook
You’ll now be working in rows and turning after each row with a Ch 1 at the beginning of each row. The Ch 1 does not count as a stitch
Row 1: In a Magic Circle make 4 Sc, turn
Row 2: 4 Inc, turn (8)
Row 3: [Sc, Inc] x 4, turn (12)
Row 4-5: 12 Sc
Leave a long tail for sewing
Eyeballs – Make Two
Using your scrap white yarn and a 10.00mm hook
You’ll be working in the round and you will not turn after each row.
Row 1: In a Magic Circle make 6 Sc
Row 2: 6 Inc (12)
Row 3: 12 Sc
Row 4: 6 Dec (6)
Leave a long tail for sewing
Pupils – Make Two
Using your Scrap worsted weight black yarn and a 5.00mm hook
You’ll be working in the round and you will not turn after each row.
Row 1: In a Magic Circle make 6 Sc
Row 2: 6 Inc (12)
Leave a long tail for sewing
Assembly
To assemble the eyes its best to attach the pupil to the eyeball, then the eyeball inside the eye lid, then the whole entire eye to the hat. The placement on the hat is on a very slight angle facing inwards and between rows 5 and 8 of the hat (see photos)

And You’re Done!!!


Link to my socials below!
Looking for something particular on the site?
Use the search bar below!


